Add & Edit Closed Captions directly in Storyline 360

Add & Edit Closed Captions directly in Storyline 360

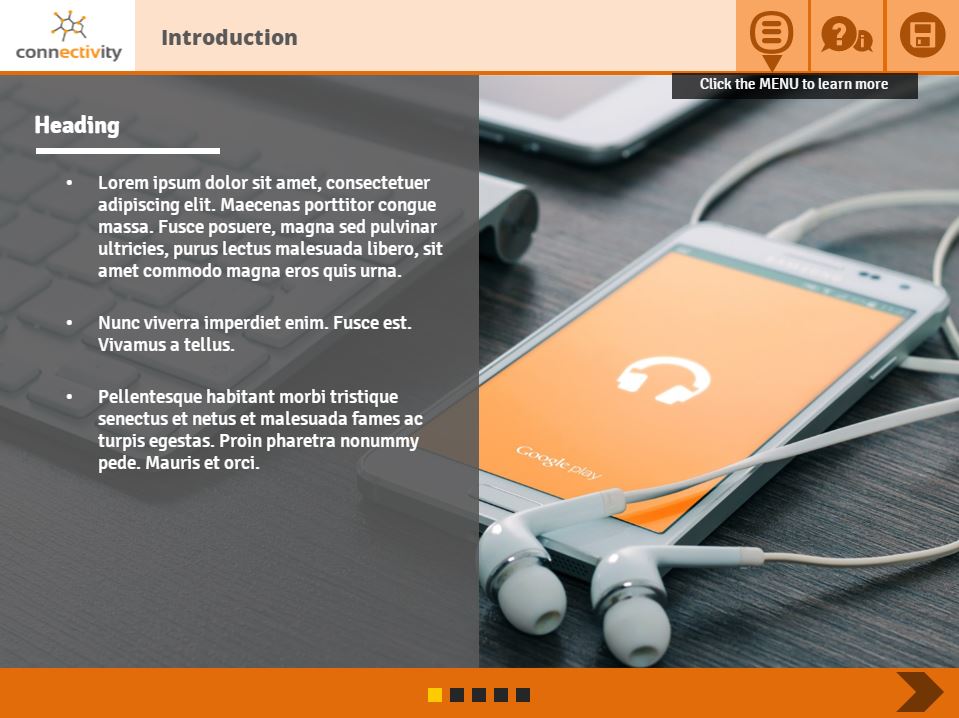
These days, we can use Storyline 360 to add closed captions to online interactions.

With this terrific accessibility feature, you can:

  • create your own captions for any video or audio file inserted into Storyline
  • edit closed caption files created in another application, in Storyline

Here’s a video to walk you through it:

As accessibility concerns get more widely recognised, this nifty feature is sure to be appreciated. The team at Storyline Developer say that accessibility is moving up the priority list for many organisations—both for commercial projects and internal training programs.

Thankfully, the folks at Articulate have made their closed captions solution super easy!

Back in the dark ages, developers needed third-party software to make closed captions work. That was okay, but Storyline now does it all. That handily simplifies the e-learning development process, and the list of apps needed by developers.

Want more?

Storyline Training can bring your team up to speed with all things Storyline. Contact us today!

Tables in Storyline 360

Tables in Storyline 360

A 2017 update finally added tables to the Storyline 360 menu.

If you know you’re way around the interface, it’s pretty easy to add and edit them.

Here’s a quick video that will have you using tables in a minute or two. Or, if you prefer your info in carefully composed and typed text, read on.

How to add a table

If you’ve used them in any other program, the method will be familiar so long as you know where to find the functions.

To add a table, simply:

  1. Go to the INSERT tab.
  2. Select the Table drop-down menu.
  3. Choose the number of rows and columns you want.

How to modify a table

Once your table is there, select it to make modifications:

  1. Use the DESIGN tab to customise its appearance, with colour options for the fill and border, and styling options for the header row and the border.
  2. Use the FORMAT tab to Insert or Delete rows and columns, as well as defining height, width, text direction and other parameters.

Note: The correct ‘DESIGN’ and ‘FORMAT’ tabs will only be available if and when you select the table with a mouse click. If your table isn’t selected, these tabs may be hidden.

Just desserts

Crazy as it seems, prior to this update, Storyline offered no way to put a table onto a slide.

Sure, there were ways to get a similar effect. You could draw boxes and spend your time aligning them really well to simulate a table. Or, you could make a table elsewhere—e.g. in PowerPoint—then export it as an image and paste it into your slide. These hacks presented well enough to end-users, but they weren’t great for developers.

Tables is an important feature for the future of Storyline as software. It’s not groundbreaking. Quite the opposite, in fact. Rather, many users expect that tables should come standard. These folks tend to believe that they should be able to insert a table with any authoring software. So, with this update, Articulate makes Storyline meet those common expectations.

Dinner is served

That’s the fresh produce from Articulate. It was a long wait, but tasty when it arrived.

Easily adding tables from within Storyline itself will save time for the team at Storyline Developer. Used right, they’re sure to help you too.

When Articulate unveiled this new function, they also expanded the 360 Content Library. Get more on that in our quick review of the Articulate 360 content added in 2017. There’s some new characters and a new template worth checking out.

Remember! For team training at your premises, be sure to check out our Storyline courses.

Import Closed Captions (CC) files to Storyline 360

Import Closed Captions (CC) files to Storyline 360

The March update of Articulate Storyline 360 added a much-requested capability: the ability to add Closed Captions (CC) to e-learning projects.

Articulate 360 updates regularly bring bug fixes, but it’s when they include new features that they really deserve the buzz. Well, this update brought new things to Storyline 360, and they’re immediately useful.

We’ve already covered the expanded content library. Now, let’s look at the new way to handle closed captions/subtitles.

Closed captions: must-have for e-learning accessibility

Closed captions are like subtitles. They let learners read voice-overs and narration as on-screen text. Some learners want or need closed caption instead of voice-over. Others might use closed captions as well as listening to voice-over.

Not everyone wants closed captioning, but many do. It’s best practice to include it as an option that learners can switch on or off as they like.

For some learners, closed captions are a top priority. The hard of hearing have an obvious need. Also, ESL speakers often find it makes things easier to follow. So, closed captions have become integral to the development of accessible e-learning.

As time goes on, more companies are expecting closed captions to be a part of the e-learning they use. The ability to embed closed captions is a high priority—or even a pre-requisite—for many e-learning clients. Organisations that have formal mandates to meet broad accessibility standards demand it. This includes government departments, public education providers and more.

If you’ve never worked with CC before, it can seem a bit daunting. Luckily, there are tools available that make it pretty quick and easy. Here’s how you can do it with Storyline.

New CC capability in Storyline

Now, you can use Storyline to add Closed Captions to video and audio files.

To do this, you’ll need to first create a CC file, such as a .srt file. You can do this using captioning services like YouTube or Amara for free, or any number of paid services.

Then, all you need to do is insert a video or audio file onto a slide and access the CC tools from the Audio Tools > Options or Video Tools / Options tab. Simpy click the Add Caption button, find your CC file and insert it. Your video or audio file is now captioned.

Of course, you can remove the CC file if you change your mind, and you can even choose the font you’d like the subtitles to appear in. To do this, open the Player Properties, select Colors & Effects and select the Caption font of your choosing.

See it in action, from start to finish

Below is a quick demo video of how I added CC to a video in one of my projects.

It explores the formal info about closed captions in Storyline and shows how to:

  • use Amara to create and download a CC file
  • add Closed Captions to a video inside Storyline
  • customise the Closed Captions font.

BONUS: Download the template from the video

It’s got nothing to do with closed captions, but…

…if you like what you see in that video, we’ve already released the Storyline template it uses. It’s freely available. You’re welcome to download the template file for your personal use.

Free Storyline template file, as used in the closed captions example video
Download the freebie

NB: This post refers to closed captioning features unveiled in the March 7, 2017 (Build 3.4.10330.0) update of Storyline 360. As of August 2017, there’s even more you can do with closed captions/subtitles. For more advanced info about Storyline’s even-newer closed-caption editing capabilities check out our more recent post.

What’s next?

The March 7 update was the third significant upgrade to the Articulate 360 suite in under four months. (Yes, there have been five updates so far, but two of those were really just bug-fixes.) Already, Articulate is improving the value-proposition of the package, and they’re not showing signs of stopping. At the same time as subtitling capability was unveiled, they also added a stack of new assets to the Storyline content library. I reckon we should expect more sooner rather than later.

As the 360 suite matures, each batch of new features meshes nicely with those that came before. Storyline Training news gives you key run-downs of the newest features as they arrive. Our intensive courses give you access to the bigger picture. With Storyline Training courses, you’ll be set to develop professional-level e-learning within hours and days.